Apache2 Custom Site With Self Signed Certificate
For this activity, we will use a Debian 12 VM with apache installed. The debian installer gives us an option to install a web server (among other things) during the installation process. In case we need to install apache2 after the machine has booted up, it can be done with apt install apache2.
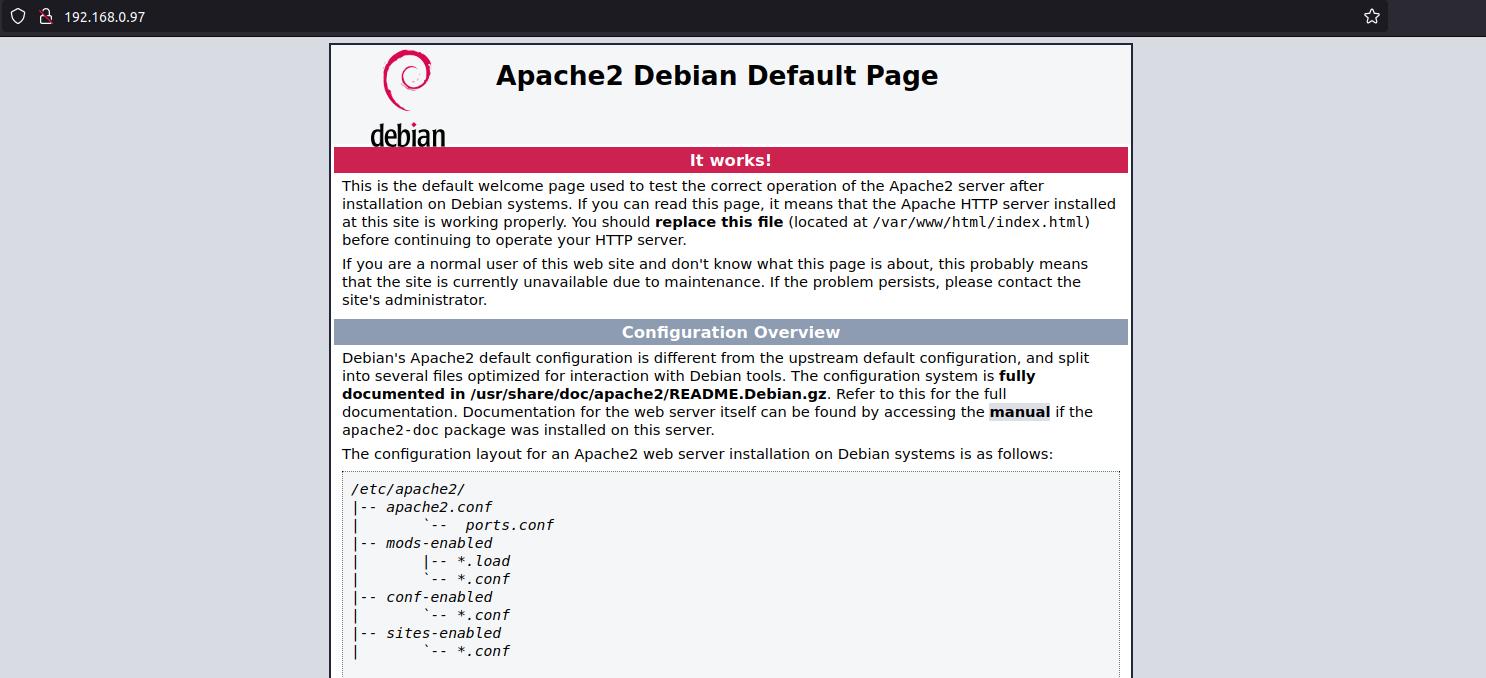
Either way, once you have apache installed, we can go to http://your_server_ip and we’ll get the default apache landing page as show inthe screen grab below.
Our task here is to host a sample site on the machine and enable access to it via https://server_ip.
By default, /var/www/html is the document root directory (web root) for apache. This is the main directory where apache looks for files to serve to clients requesting them.
Creating our website
We will start with creating a directory for our site under var/www/.
sudo mkdir /var/www/oursamplesite
If we do a directory listing with ls -l /var/www, we can see that our newly created directory is owned by root, as show in the screen grab below.

We need to change the ownership of this directory to www-data. www-data is the usr that apache use by default for normal operation. Apache can access any file/directory that www-data can access. We can change the owneship of the newly created directory with the command
sudo chown -R www-data:www-data /var/www/oursamplesite
Now that we have the directory ownership changed, we will add our current user havoc to the www-data group with the command
sudo usermod -aG www-data havoc
Now we need to set persmissions for apache and havoc to write and read files in the newly created directoy. This is accomplished with the following command
sudo chmod -R 770 /var/www/oursamplesite
user havoc will need to log out and then login again for new group permissions to take effect.
With the required ownership and permissions set, we now proceed to put a sample HTML page there by creating an index.html file.
sudo nano /var/www/oursamplesite/index.html
<!DOCTYPE html>
<html>
<head>
<title>Welcome to Our Sample Site</title>
<!-- The <style> tag is not required, but who doesn't like a little style-->
<style>
* {
  box-sizing: border-box;
  font-family: Arial, Helvetica, sans-serif;
}

body {
  margin: 0;
  font-family: Arial, Helvetica, sans-serif;
}

/* Style the top navigation bar */
.topnav {
  overflow: hidden;
  background-color: #333;
}

/* Style the topnav links */
.topnav a {
  float: left;
  display: block;
  color: #f2f2f2;
  text-align: center;
  padding: 14px 16px;
  text-decoration: none;
}

/* Change color on hover */
.topnav a:hover {
  background-color: #ddd;
  color: black;
}

/* Style the content */
.content {
  background-color: #ddd;
  padding: 10px;
  height: 200px; /* Should be removed. Only for demonstration */
}

/* Style the footer */
.footer {
  background-color: #f1f1f1;
  padding: 10px;
}
</style>
</head>
<body>
    <div class="content">
        <h2>Welcome to Our Sample Site</h2>
        <p>This is a sample HTML page for the Our Sample Site.</p>
    </div>
    <div class="footer">
        <p>Page footer</p>
    </div>
</body>
</html>
We now have to configure our apache virtualhost config to serve our site’s content. We do this by creating a file oursamplesite.conf in the /etc/apache2/sites-available/ directory.
sudo nano /etc/apache2/sites-available/oursamplesite.conf and put the following content in it.
<VirtualHost *:80>
    ServerName oursamplesite
    DocumentRoot /var/www/oursamplesite

    <Directory /var/www/oursamplesite>
        Options Indexes FollowSymLinks
        AllowOverride All
        Require all granted
    </Directory>

    ErrorLog ${APACHE_LOG_DIR}/oursamplesite_error.log
    CustomLog ${APACHE_LOG_DIR}/oursample_access.log combined
</VirtualHost>
We can check for any errors in the config file with sudo apachectl -t. If our config file has no errors, we will get the message Syntax OK.
Enable the site with sudo a2ensite oursamplesite.conf.
Disable the default apache2 landing page with sudo a2dissite 000-default.conf.
Restart apache with sudo systemctl restart apache2.
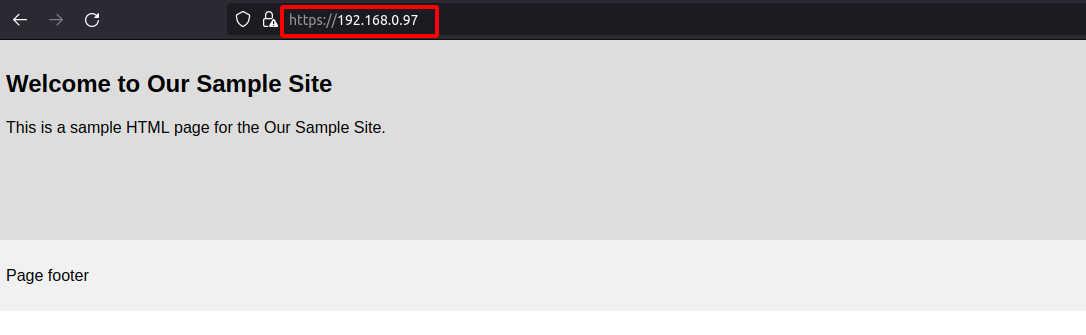
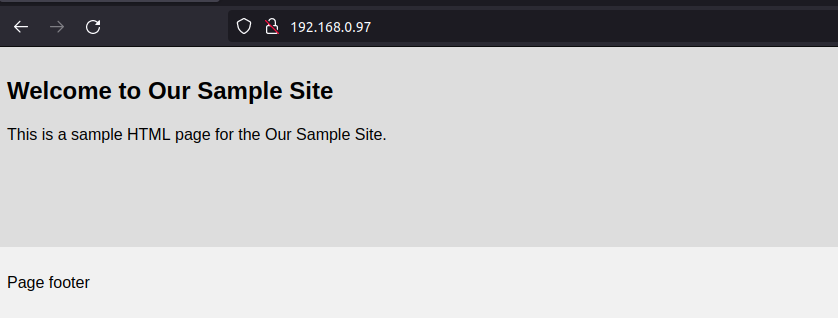
Verify that the new site is up and running by going to https://server-ip.
If we have firewall enabled on our server, we will configure it to open port 80 with sudo ufw allow "WWWW". For IPTABLES, the equivalent command is iptables -I INPUT -p tcp --dport 80 -j ACCEPT and for firewalld. it would be:
firewall-cmd --add-port=80/tcp --permanent
firewall-cmd --reload
Configure Apache with https
Generate SSL/TLS certificates
We will use self signed certificates since we are running the web server in our local network. If we have to expose our site to the internet, there are ways to do this with NGINX Reverse Proxy or Cloudflare tunnels.
Generate a private key
sudo mkdir /etc/ssl/oursamplesite
sudo openssl genrsa -out /etc/ssl/oursamplesite/oursamplesite-private.key 4096
Generate CSR (Certificate Signing Request)
sudo openssl req -new -key /etc/ssl/oursamplesite/oursamplesite-private.key \
-out /etc/ssl/oursamplesite/oursamplesite-csr.pem \
-subj "/C=US/ST=CL/L=California/O=OurSampleSite/CN=oursamplesite"
Of these parameters above, the most important one is CN=oursamplesite. Please ensure that you edit it to whatever is the domain name you want to use.
Generate the SSL/TLS certificate
sudo openssl x509 -req -days 3650 -in /etc/ssl/oursamplesite/oursamplesite-csr.pem \
-signkey  /etc/ssl/oursamplesite/oursamplesite-private.key -out /etc/ssl/oursamplesite/oursamplesite-cert.crt
After executing these commands (use sudo with these commands unless you are running as root), we will have the following files in our /etc/ssl/oursamplesite directory.

Install/Enable Apache SSL modules
sudo a2enmod ssl
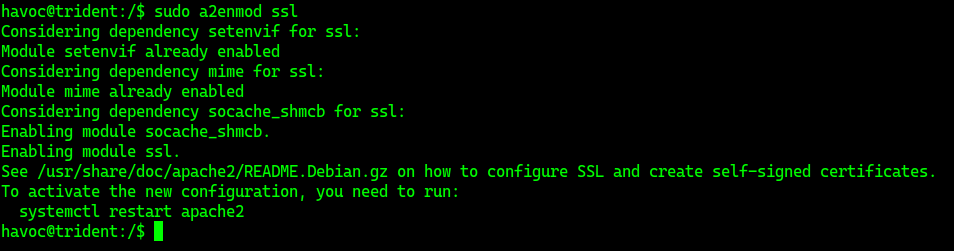
Confirm with apachectl -M | grep ssl. You should get an output ssl_module (shared) if all is well.

Update config to use SSL/TLS
Edit the file we created earlier, /etc/apache2/sites-available/oursamplesite.conf
<VirtualHost *:80>
    ServerName oursamplesite
    Redirect permanent / https://192.168.0.97/
    #DocumentRoot /var/www/oursamplesite
</VirtualHost>

<VirtualHost *:443>
    ServerName oursamplesite

    SSLEngine on
    SSLCertificateFile /etc/ssl/oursamplesite/oursamplesite-cert.crt
    SSLCertificateKeyFile /etc/ssl/oursamplesite/oursamplesite-private.key

    DocumentRoot /var/www/oursamplesite

    <Directory /var/www/oursamplesite>
        Options Indexes FollowSymLinks
        AllowOverride All
        Require all granted
    </Directory>

    ErrorLog ${APACHE_LOG_DIR}/oursamplesite_error.log
    CustomLog ${APACHE_LOG_DIR}/oursample_access.log combined
</VirtualHost>
Enable apache rewrite modules
sudo a2enmod rewrite, check for errors with sudo apachectl -t and restart apache2 with sudo systemctl restart apache2
If required, update firewall rules with the following commands as applicable
ufw allow "WWW Secure"
iptables -I INPUT -p tcp --dport 443 -j ACCEPT
firewall-cmd --add-port=443/tcp --permanent
firewall-cmd --reload
That’s it. The self signed certificate we generated will however not be trusted by the browser and you will need to add an exception when your browser of choice displays a warning to that effect.
You can now navigate to https://server_ip to access our site. Even if we use HTTP to navigate to our site, the Redirect statment in our config file will redirect the connection to HTTPS.